Think of an itemized receipt template as your business’s secret weapon for efficiency and professionalism. It's a ready-to-go document that lays out a detailed breakdown of everything a customer bought, from products to services. Instead of scrambling to create one from scratch every time, a template ensures you capture every item, its quantity, price, and any applicable taxes consistently and accurately.
Why a Professional Itemized Receipt Is a Business Essential
Let's be honest: handwritten notes or generic slips of paper just don't cut it anymore. If you're serious about your business, a polished, itemized receipt does more than just show proof of purchase. It’s a statement. It tells your clients that you're organized, transparent, and professional, which goes a long way in building trust.
When a customer can see a crystal-clear breakdown of their purchase, it eliminates any guesswork or confusion. This simple act of clarity can be a game-changer. By detailing every single charge—whether it’s individual products, labor hours, or sales tax—you’re proactively answering questions before they’re even asked. This transparency is fantastic for preventing payment disputes and nurturing positive, long-term relationships with your clients.
The Impact on Your Bottom Line
Beyond customer perception, a solid receipt system has a direct, positive impact on your finances. When your records are clean and consistent, bookkeeping becomes infinitely less painful. Come tax season, you (and your accountant) will be thankful for the hours saved. Plus, having meticulous records is your best defense in an audit and offers you a goldmine of data on your sales patterns.
This isn't just theory; it works in the real world for all sorts of businesses, from healthcare to construction. Take Sophie, a small flower shop owner who saw a 3x increase in payment speed after ditching her messy, handwritten notes for a clear, digital itemized receipt template. Her experience shows how a simple change can improve cash flow, slash errors, and free you up to focus on growing your business. You can find more stories about how businesses are using these templates over on Bill.com.
A clear receipt isn't just a record; it's a statement about your business's attention to detail and commitment to transparency. It silently communicates that you are organized, professional, and trustworthy.
Ultimately, using a standardized itemized receipt template turns a mundane administrative task into a real business advantage. It’s one of those small changes that deliver big returns in professionalism, client trust, and sheer operational efficiency.
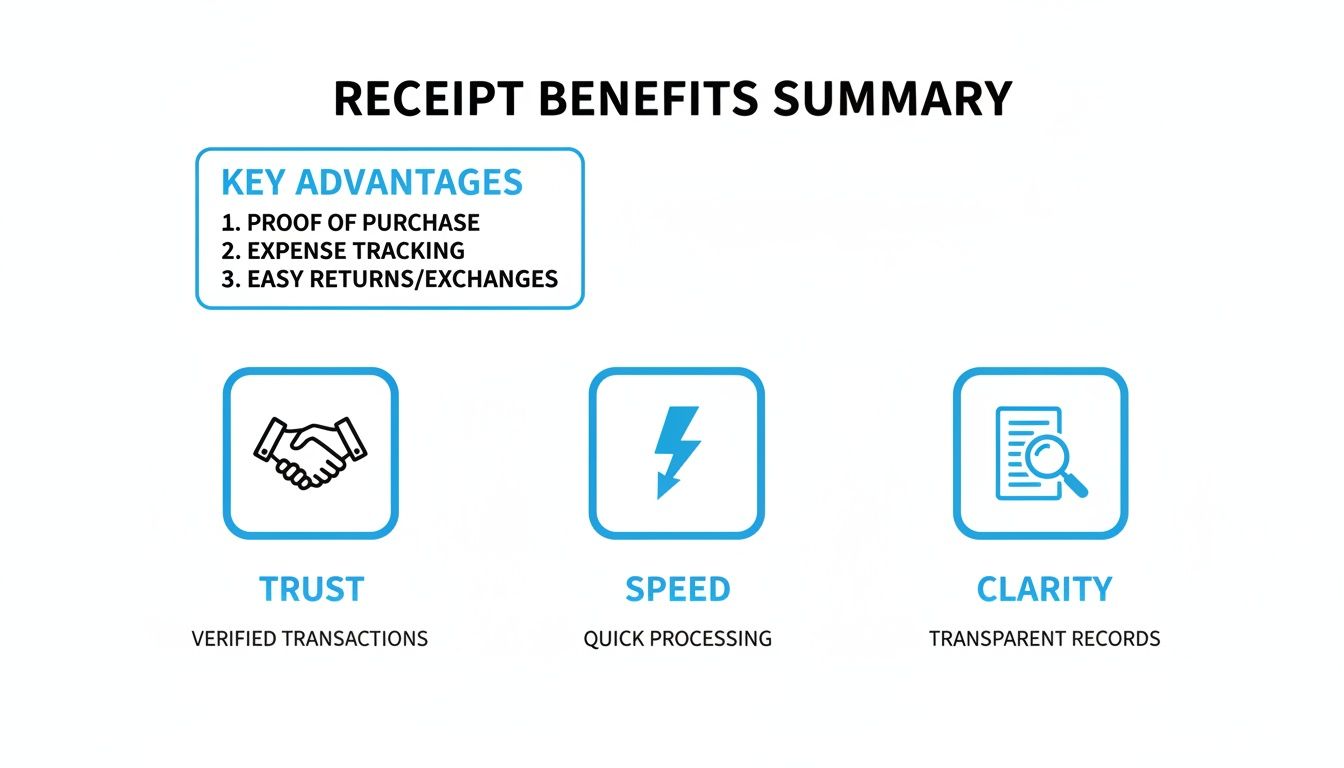
The benefits really stack up:
- Boosts Your Professional Image: A branded, well-organized receipt reflects the quality of your work.
- Enhances Customer Trust: Total transparency in billing prevents misunderstandings and shows you respect your clients.
- Simplifies Bookkeeping: Consistent formatting makes financial tracking and tax prep a breeze.
- Reduces Payment Disputes: When every cost is listed clearly, there's no room for arguments over the final bill.
What Makes a Great Itemized Receipt?
A truly professional receipt leaves zero room for confusion. I like to think of creating a template as drawing a blueprint—every single component has a job to do. When they all work together, you get a document that’s clear, professional, and keeps your records airtight. Get these details right from the start, and you'll save yourself countless headaches down the road.
First things first, let’s talk about your business information. This is more than just slapping your logo on the top. It needs your full business name, address, phone number, and email. This block of info immediately anchors the transaction to you, making the receipt instantly recognizable and legitimate.
Let's break down the essential fields that every professional receipt template should include. Getting these right is non-negotiable for clarity and compliance.
Core Components of a Professional Itemized Receipt
| Component | Description | Why It's Important |
|---|---|---|
| Your Business Info | Full business name, address, phone, and email. | Instantly identifies you and builds trust. Essential for returns or follow-up questions. |
| Customer Info | The customer’s name and, if applicable, their address or contact info. | Personalizes the transaction and is crucial for B2B sales or service records. |
| Receipt Number | A unique, sequential number for each transaction. | This is your internal tracking ID. It makes finding a specific sale for refunds or records a breeze. |
| Transaction Date | The date the purchase was made. | Critical for accounting, warranty claims, and return periods. |
| Itemized List | A detailed breakdown of each product/service, quantity, and unit price. | The heart of the receipt. Provides total transparency and justifies the final cost. |
| Financial Summary | Subtotal, taxes, discounts, and the grand total. | Clearly shows how the final amount was calculated, preventing any "sticker shock." |
| Payment Details | The method of payment used (e.g., Visa ****1234, Cash). | Confirms the bill has been settled and provides a complete record of the exchange. |
Putting these components together correctly turns a simple slip of paper into a powerful business tool. It's all about creating a clear story of the transaction.
Identifying the Transaction
Every sale needs a unique fingerprint for easy tracking. This is where specific identifiers come in. A clear transaction date is the starting point, establishing exactly when the purchase happened—something you’ll need for returns, warranties, and your own financial reporting.
Just as critical is a unique receipt number. This simple sequential number prevents duplicates and makes locating a specific transaction almost instant. Without it, you’re just digging through a pile of records hoping to find the right one, which is a massive waste of time for both you and your customer.
An effective receipt tells the complete story of a transaction. Each field, from the receipt number to the tax line, adds a crucial detail that prevents confusion and builds trust.
Detailing the Purchase
The real meat of your itemized receipt is, of course, the itemization itself. This is where you break down exactly what the customer paid for. Any ambiguity here is a recipe for customer questions or, worse, disputes.
Your list of items should always include these four columns:
- Item/Service Description: Be specific. Instead of just "Consulting," write something like "Initial Project Consultation - 2 Hours."
- Quantity: How many units were bought or how many hours were billed.
- Unit Price: The cost for a single item or one hour of your service.
- Line Total: The simple math of quantity multiplied by the unit price.
This grid format offers complete transparency. The customer can see precisely how you arrived at their final bill, line by line. It demystifies the total cost and quietly reinforces the value you delivered.
The infographic below really drives home the benefits that a well-structured receipt brings to your business—it’s all about building trust and making things clear and fast for everyone.
Finalizing the Financials
The bottom section of your receipt is where you pull all the numbers together. You always want to start with a subtotal—that’s the sum of all your line items before any taxes or discounts. It gives everyone a clear baseline cost.
Next, list any applicable taxes (like sales tax or VAT) as a separate line. If you gave the customer a discount, show that clearly, too. Finally, present the grand total in bold. This is the final, all-in amount the customer paid.
I also highly recommend adding the payment method used (e.g., Visa, Cash, Bank Transfer). It confirms how the balance was settled, closing the loop on the transaction and leaving no questions unanswered.
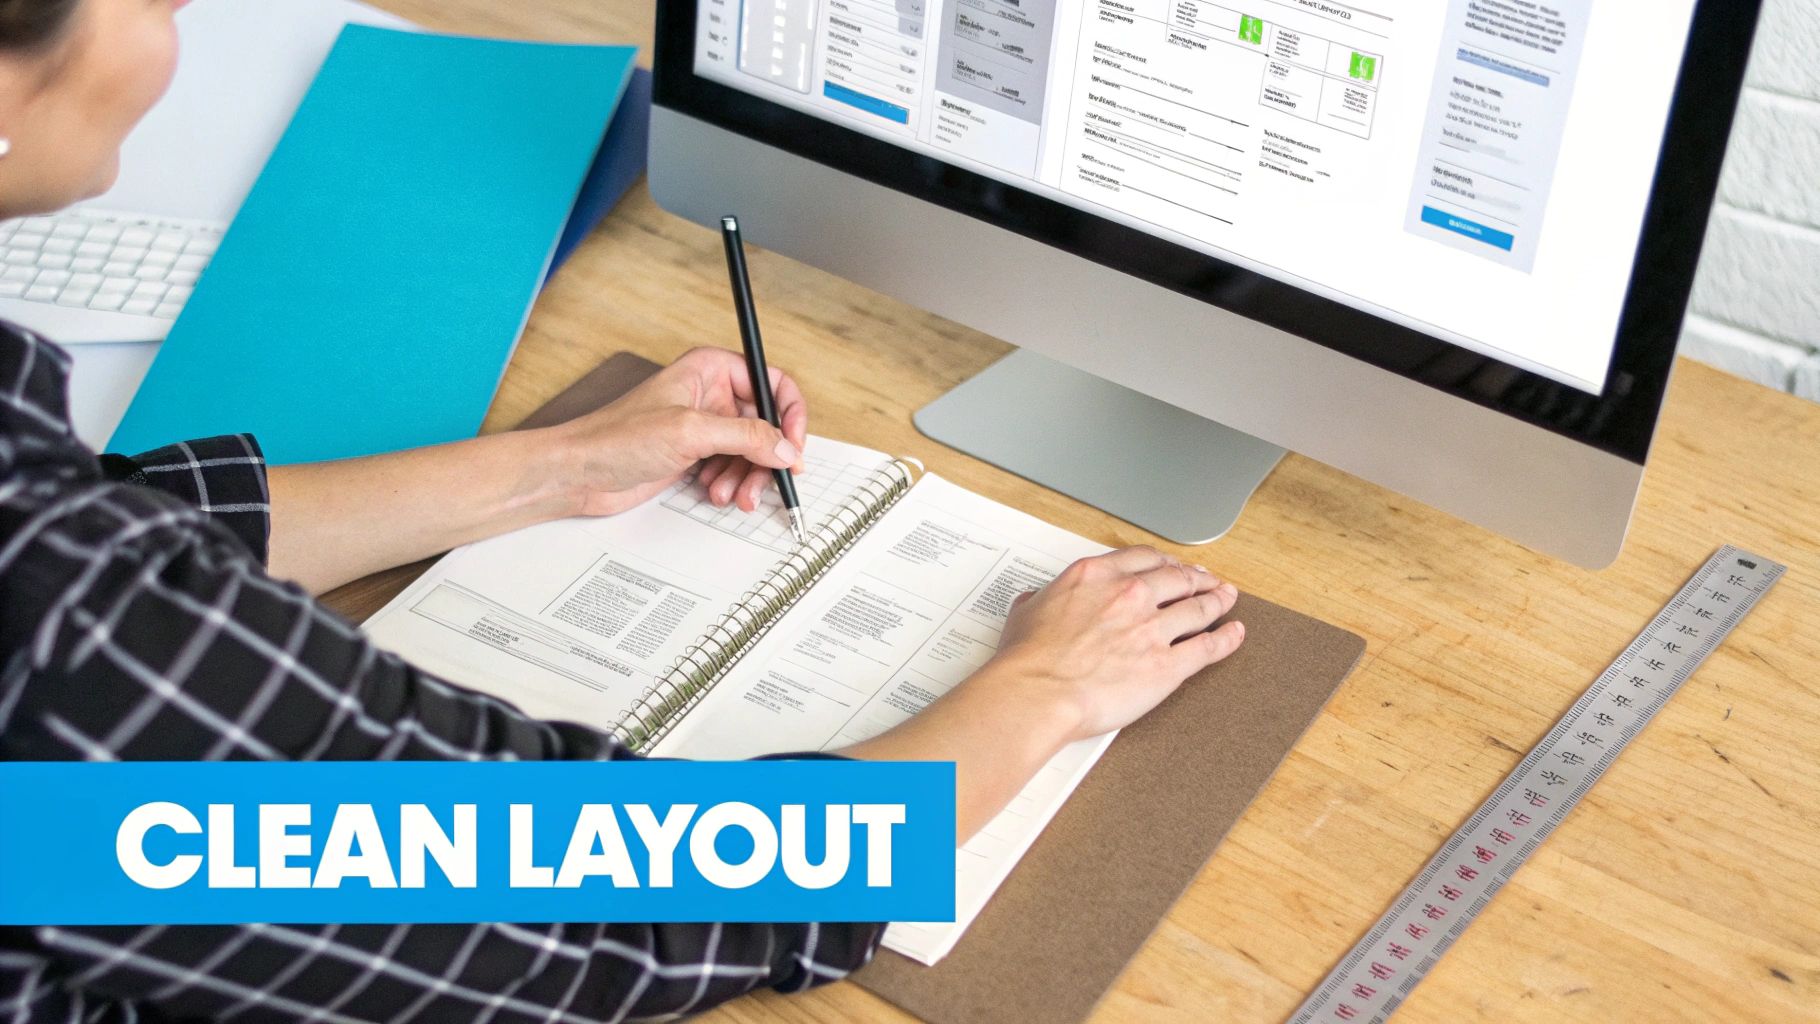
Designing a Clean and Professional Layout
The information on your receipt is critical, but how you present it matters just as much. A messy, hard-to-read receipt doesn't just frustrate your customer; it reflects poorly on your business. Think of it this way: a clean, professional layout quietly communicates competence and builds trust.
Good design is all about clarity. Your receipt is a final touchpoint with your customer, a small piece of your brand they take with them. Placing your logo strategically, using your brand colors, and picking a clean font all add up to a cohesive experience. It should feel like a natural part of your business, not an afterthought.
Prioritize Readability with Fonts and Spacing
If a customer has to squint to see what they paid for, you've missed the mark. The most fundamental part of receipt design is simple readability, and your two best friends here are font choice and whitespace.
First, pick a clean, legible font. This isn't the place for fancy script or decorative fonts. Stick with the classics like Arial, Helvetica, or Open Sans. They’re popular for a reason—they stay clear even when printed small. Aim for a font size between 10-12 points for the main item descriptions.
Next, give your information room to breathe. Whitespace (the empty area around your text) is what separates a professional document from a cluttered mess. Use generous margins and enough space between lines so the eye can easily scan the details.
A well-designed receipt uses visual hierarchy to guide the customer’s eye. Important information like the grand total should be instantly visible, not buried in a wall of text.
Establish a Clear Visual Hierarchy
Not everything on the receipt is equally important. Visual hierarchy is simply the art of arranging the information so the customer’s eye naturally gravitates to the most critical details first.
Here’s a practical way to build that hierarchy:
- Your Logo: Place it right at the top. It should be crisp and clear—a good rule of thumb for digital receipts is to use a logo that is at least 200 pixels wide so it doesn't look blurry.
- Key Headings: Use bold text or a slightly larger font for section titles like "Itemized Details" or "Payment Summary." This breaks the receipt into scannable chunks.
- The Grand Total: This is the number everyone looks for. Make it impossible to miss. Use a bold, larger font and consider placing it in its own space at the bottom right.
- Contact Information: Keep your details and the customer's details grouped logically, usually near the top, to avoid confusion.
If you’d rather not start from scratch, many resources offer downloadable receipt templates that have this professional structure built-in. You can also find a wide variety of pre-designed options over at https://www.receiptgen.com/templates, all created with these best practices in mind.
Nailing the Numbers: Taxes, Payments, and Discounts
The bottom of your receipt is where everything comes together. This financial summary needs to be crystal clear, because any confusion here can lead to customer disputes or accounting headaches down the road. Getting this section of your itemized receipt template perfect isn't just about math—it's about building trust.
It all starts with the subtotal. This is your clean slate, the total cost of all goods or services before you add or subtract anything else. Think of it as the foundation of the final calculation, giving both you and your customer a simple, agreed-upon starting point.
How to Clearly Show Taxes and Discounts
Taxes should never feel like a hidden fee. Whether it’s sales tax, VAT, or another local requirement, give it its own dedicated line. Listing the exact tax amount shows transparency and is incredibly helpful for business clients who need to track those expenses for their own books.
The same rule applies to discounts. Don't just show the final price; show the value. The best way I've found to do this is to display the original price, then list the discount as a clear negative number. This instantly reinforces the great deal the customer got and leaves no question about how much they saved.
Your goal is a financial record that’s completely transparent and easy to defend if questioned. When you separate the subtotal, taxes, discounts, and total, your receipt becomes more than just a piece of paper—it becomes a trusted document.
Confirming the Final Payment
Once all the adjustments are made, the grand total needs to stand out. Make it bold, make it bigger—just make sure it’s impossible to miss. This is the number that matters most.
Right below that, always note how they paid. Was it "Visa ****1234," "Cash," or "Bank Transfer"? Adding this small detail officially closes the loop on the transaction and confirms the account is settled.
Getting these financial details standardized is also a huge help for staying on the right side of the law. Compliance rules can vary wildly depending on where you do business. For example, Australia legally requires receipts for any purchase over AUD $75, and the EU has very specific VAT invoicing rules for B2B sales. A solid template helps you meet these legal standards without even thinking about it. To learn more about this, you can check out resources on legally compliant receipt templates and even grab a free receipt template for 2025 from ailawyer.pro.
Ultimately, precision in this final section ties the entire transaction together with a bow. It tells a complete, easy-to-follow financial story that serves your customer’s need for clarity and your business’s need for flawless records.
Adapting Your Template for Different Industries
A generic itemized receipt is a decent starting point, but let’s be honest—it’s not going to cut it for most businesses. True professionalism shines through when you tailor your receipt to your specific industry. The details a restaurant needs to show are worlds apart from what a freelance web developer or a hardware store must include.
Customizing your template isn't just about looking good. It ensures total clarity for your customer, which means fewer questions and faster payments. More importantly, it makes your own record-keeping a whole lot easier. Think of it this way: a vague receipt creates friction, while a specific one builds confidence. The trick is to anticipate what your customer needs to see and lay it out clearly.
For Restaurants and Cafes
The hospitality world runs on details. A good restaurant receipt does more than just show a final bill; it tells the story of the dining experience. Breaking everything down helps customers understand exactly what they’re paying for and makes splitting the check with friends a painless process.
A solid restaurant receipt template should always have clear sections for:
- Food Items: List every dish by its full menu name. "Classic Margherita Pizza" is much better than a generic "Pizza."
- Beverages: Always separate drinks from food. This is a huge help for customers tracking different types of expenses, especially businesses that need to categorize alcohol purchases separately.
- Gratuity/Tip: Add a distinct line for any included gratuity, particularly for large parties. It’s also standard practice—and very helpful—to include suggested tip percentages (18%, 20%, 25%) at the bottom.
This kind of structure completely avoids that awkward "what was this charge for?" conversation at the end of a great meal.
For Retail and Product-Based Businesses
In retail, a great receipt is where customer service and inventory management meet. When a customer needs to return an item or check a warranty, they need specific product information, and they need it fast. Your receipt is a critical part of your operational toolkit.
If you run a hardware store, boutique, or any shop selling physical goods, make sure your template prioritizes these fields:
- SKU or Item Number: This is non-negotiable. A unique stock-keeping unit (SKU) is the single fastest way to look up an item for returns, exchanges, or inventory checks.
- Brief but Clear Description: Right next to the SKU, a simple description helps jog the customer's memory. Something like, "SKU 9431-B: ½-inch PVC Coupling" is perfect.
- Return Policy: Don't make customers hunt for this. Put a concise summary right on the receipt. A simple line like "Returns accepted within 30 days with receipt for store credit" saves everyone a headache.
A purpose-built receipt is more than just a proof of purchase; it's a reflection of how well you understand your customers' needs and your industry's standards.
For Service Providers and Freelancers
When you’re in a service-based business, you're selling your time, skills, and expertise. Your itemized receipt needs to justify your value by clearly showing the work you delivered. For professionals in fields like cleaning services, a detailed breakdown is crucial for client approval and their own bookkeeping. You can see these principles in action by looking at a specialized cleaning service receipt template.
A freelance web developer or graphic designer, for example, should be breaking their invoice down by:
- Project Milestones: Itemize large projects into distinct phases, like "Phase 1: Wireframe Design" or "Phase 2: Homepage Development."
- Labor Hours and Rate: Be transparent. List the number of hours you worked and your hourly rate. This is fundamental for building trust, especially on longer projects.
- Specific Charges: Clearly list any pass-through costs like stock photo licenses, premium plugins, or printing fees. This shows the client exactly where every dollar of the final bill went.
Making Your Receipts Work for You: Tips for a Digital Workflow
So you’ve built the perfect itemized receipt template. That's a great first step, but a template is only as good as the process you build around it. The real magic happens when you make it a seamless part of your daily operations. This is where shifting from stacks of paper to a clean digital system will save you a ton of headaches.
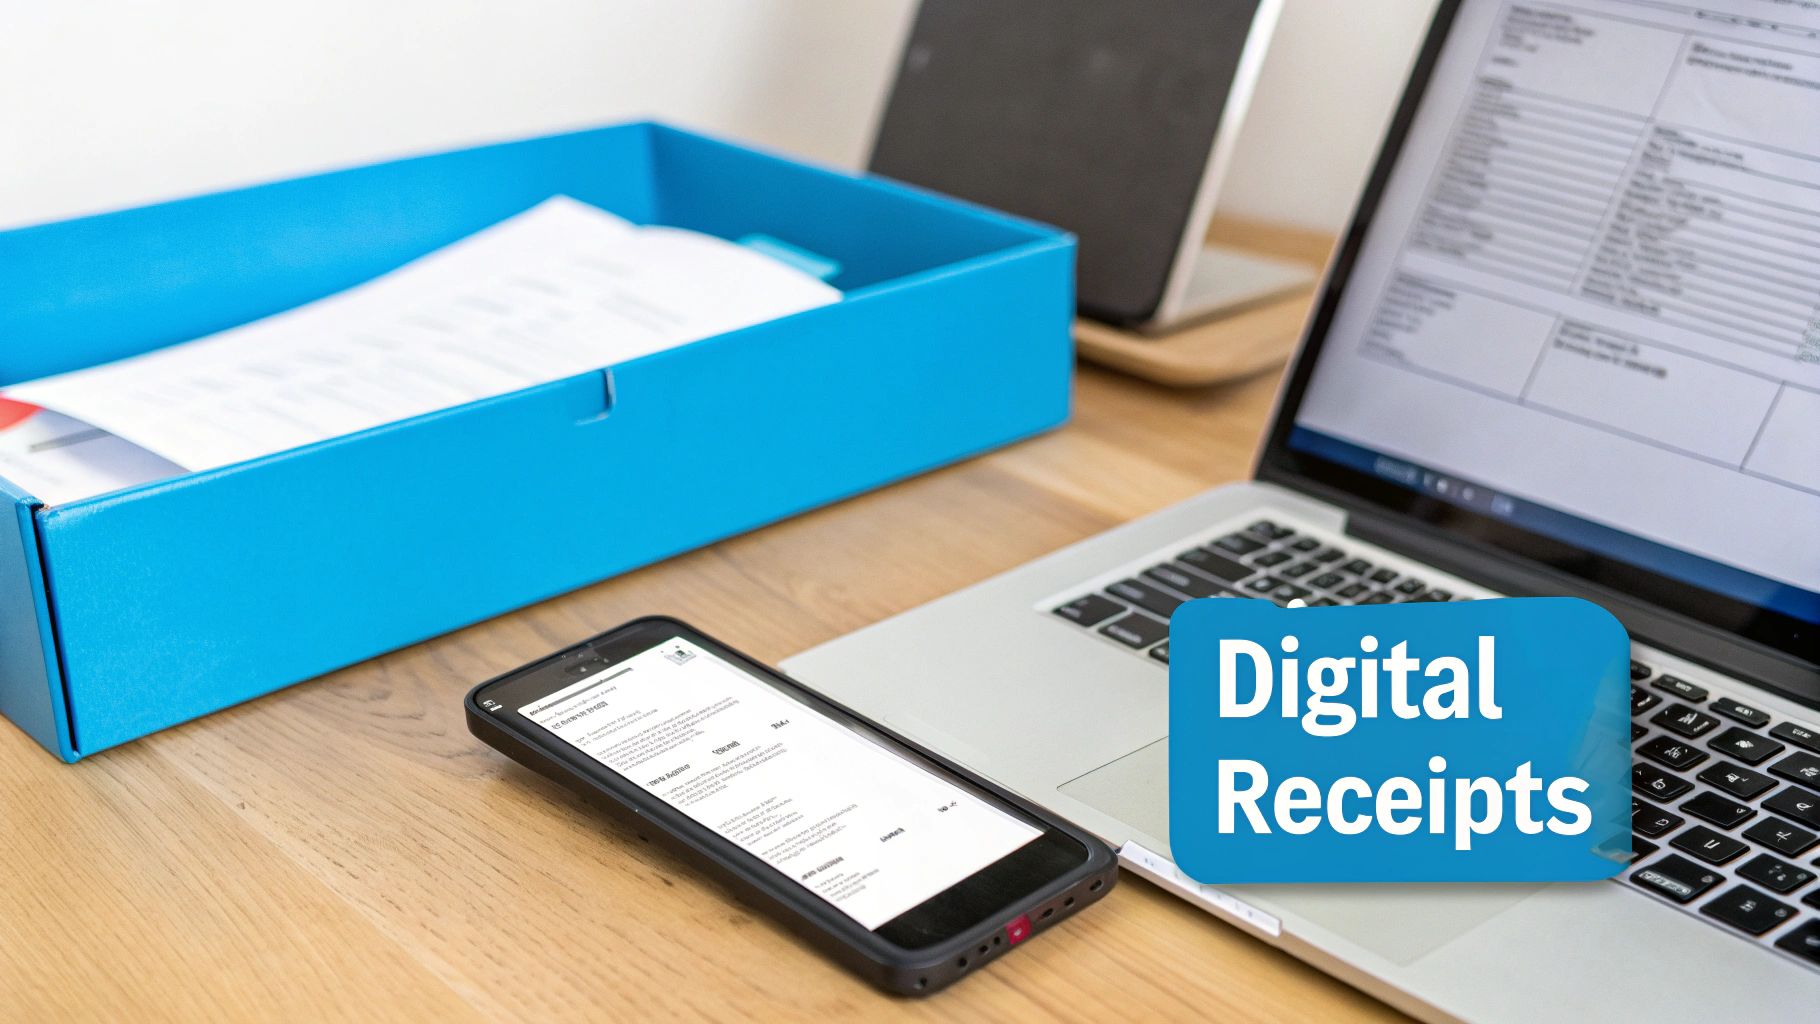
Honestly, sending a digital receipt as a PDF email attachment is almost always the best move. It looks professional, your customer gets an instant record they can’t easily misplace, and you automatically have a digital trail for your own bookkeeping. This one small change can slash your administrative time and keep your financial records primed and ready for tax season.
Going digital isn't just a modern convenience; it’s quickly becoming the standard. A 2023 study found that 84% of UK retailers were already offering digital receipts. The benefits are clear: easier expense tracking, a smaller environmental footprint, and lower costs from not having to buy receipt paper and ink.
Smart Ways to Save and Share
Having a clear system for handling your receipts is non-negotiable for staying organized. The moment you finalize a sale, your first thought should be to save a copy for yourself before you even think about sending it to the customer.
- Name Your Files Smartly: Get into the habit of using a consistent naming format. Something like
ClientName-ReceiptNumber-Date.pdfworks wonders when you're scrambling to find a specific transaction months later. - Embrace the Cloud: Don't just save receipts to your desktop. Use a dedicated folder in a cloud service like Google Drive or Dropbox. It's a secure backup that you can access from anywhere, on any device.
- Think Before You Print: While most people are happy with digital, you’ll occasionally have a client who wants a physical copy. Just make sure your template is set to a standard page size (A4 or Letter) and doesn't have a heavy color background that will drain your ink cartridges.
A well-organized digital archive is your best friend come tax time. Seriously. When every transaction is neatly filed and searchable, a task that most people dread becomes surprisingly straightforward.
To make sure all the important details are captured correctly for your accounting, it’s worth learning how to build a flawless data extraction table for receipts.
At the end of the day, your documentation should be a tool that helps you, not a chore that bogs you down. By plugging your new template into a simple digital workflow, you’ll turn a tedious task into a powerful way to gain efficiency and financial clarity. If you're in a pinch, you can always use a tool like the one at https://www.receiptgen.com/generate/Generic-Business-Receipt to create and send one on the fly.
A Few Common Questions About Itemized Receipts
If you're a freelancer or run a small business, you've probably got questions about itemized receipts. Here are a few of the most common ones I hear, along with some straight-to-the-point answers.
What's the real difference between an invoice and a receipt?
Think of it in terms of timing. An invoice is the bill you send before you get paid—it’s a formal request for payment that lists what the customer owes. A receipt, on the other hand, is the proof of payment you provide after the transaction is complete.
Essentially, an invoice asks for money, while a receipt confirms you've received it.
Can't I just use Word or Excel?
You absolutely can, but it's not always the best road to take. Manually creating receipts in Word or Excel opens the door to calculation mistakes and formatting headaches. You spend more time double-checking formulas and less time on your actual business.
Using a dedicated tool helps you sidestep those issues. It automates the math, keeps the look consistent and professional, and stores everything in one organized, secure spot.
How long do I actually need to keep my business receipts?
Tax laws can differ depending on where you are, but a solid rule of thumb is to hang onto business receipts for anywhere from three to seven years. It's always better to be safe than sorry when it comes to your financial records.
Ready to stop wrestling with spreadsheets and start creating polished receipts in just a few clicks? ReceiptGen has over 15 professional templates you can customize to fit your brand. Give ReceiptGen a try for free and see how simple it can be to handle your business paperwork.