Using receipt templates in Microsoft Word is one of the easiest ways to create a professional-looking proof of purchase without needing any fancy or expensive software. All you have to do is open Word, type "receipt" into the search bar on the new document screen, and you'll find a handful of ready-to-go options you can tweak.
Why Word Is Your Secret Weapon For Receipts
Let's be real - not every small business or freelancer needs to dive headfirst into complicated accounting software from day one. For a lot of us, the best tool for the job is often the one we already have and know how to use: Microsoft Word. It’s the unsung hero for simple, accessible document creation.
Think about a freelance photographer who just finished a shoot and needs to give the client a branded receipt on the spot. Or maybe a new Etsy seller who isn't quite ready to commit to a monthly software subscription but still needs to look professional and keep track of sales. In situations like these, Word is perfect. It's familiar, requires zero training, and is surprisingly versatile.
The Practical Benefits of Using Word
The real appeal of using Word for your receipts boils down to a few core advantages that just make sense for new business owners:
- No Additional Cost: If you already have Microsoft Office, you're all set. That’s one less subscription fee to worry about when you're just getting started.
- Complete Customization: Unlike some rigid apps, Word gives you total freedom. You can control the layout, fonts, colors, and logo placement to make sure every receipt perfectly reflects your brand.
- Minimal Learning Curve: Most of us have been using Word for years. That built-in familiarity means you can jump right in and create or edit a template without a frustrating learning period.
- Offline Accessibility: Need to create a receipt at a craft fair or a client's office with spotty Wi-Fi? No problem. You can create, edit, and print receipts anywhere, without an internet connection.
This simple, straightforward approach has really changed how new businesses handle their paperwork. In fact, recent data shows that 68% of new businesses relied on Word-based solutions for their initial receipts, a massive jump of 52% since 2019. This trend shows a clear shift toward practical, template-based methods. You can find more insights on the rise of business templates over at Jotform.
Here’s a quick look at what a clean, professional receipt template looks like inside the Word interface.
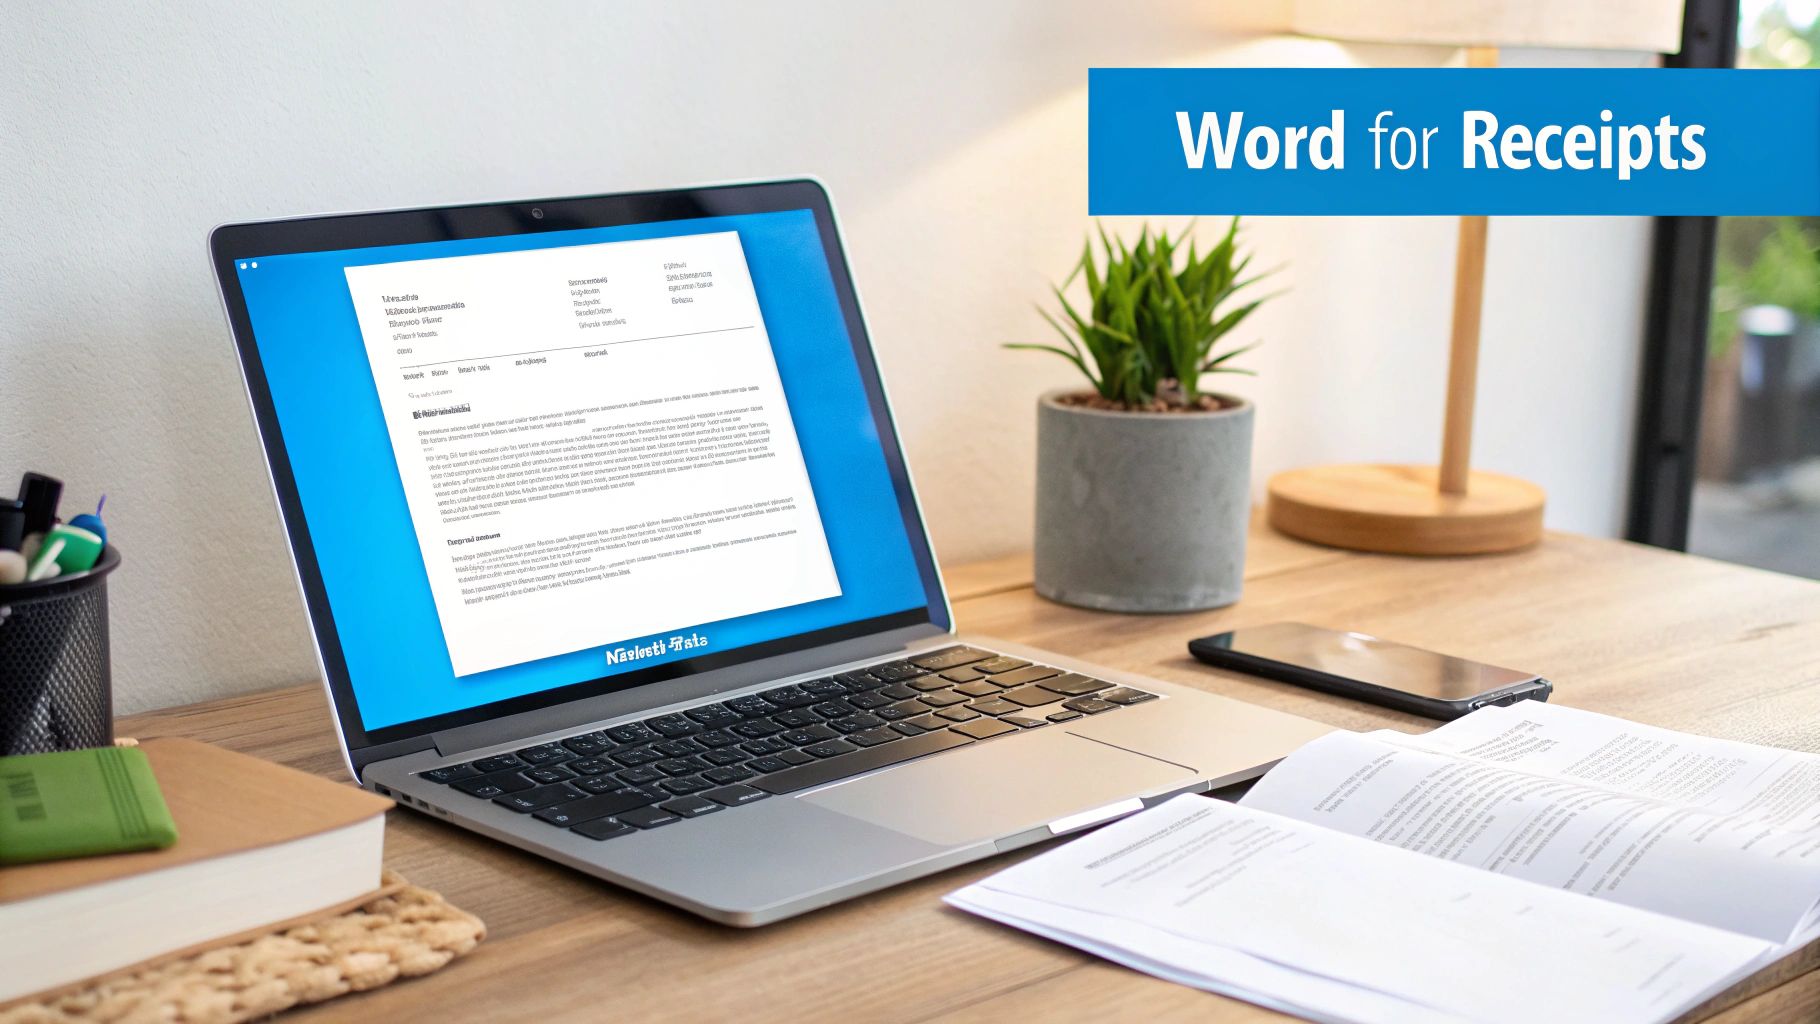
This example shows just how organized and polished your documents can look. With the right template, it's clear that Word is more than up to the task of producing high-quality financial documents.
Finding and Customizing Word's Built-In Templates
Before you dive into building a receipt from scratch, it’s always a good idea to check out the treasure trove of templates already hiding inside Microsoft Word. I’ve found that you can often discover a design that’s about 90% of the way there, needing just a few quick tweaks to fit your brand perfectly.
Getting to them is straightforward. When you fire up Word, instead of opening a blank document, just look for the search bar on the "New" document screen. This is where the magic happens. The key is knowing what to search for to sift through the noise and find the good stuff.
Unlocking The Template Library
To zero in on what you need, try searching for different types of receipt templates for Microsoft Word. I’ve had the best luck using a few specific terms:
- Sales Receipt: This query usually pulls up the classic, itemized formats that most people picture.
- Payment Voucher: A great alternative that often brings up simpler, more direct layouts.
- Service Invoice: Don't let the name fool you. Many of these are easily adapted into receipts.
- Cash Receipt: Perfect for simple cash sales where you don’t need a bunch of line items.
Don’t get frustrated if your first search doesn’t hit the jackpot. I've often found that just tweaking a keyword can uncover a whole new set of options I hadn't seen before.
Pro Tip: Found a design you love, but it’s labeled “Invoice”? Grab it anyway. Just change the main heading from "Invoice" to "Receipt." The underlying structure is often exactly what you need.
Once you’ve picked a winner, making it your own is the fun part. Most of these templates are built with simple tables and text boxes, so they're incredibly easy to edit. Just click on any element to start customizing. You can pop your own logo in place of the placeholder, type in your business details, and adjust the layout.
The goal is to make it look like your document, not a generic template. A few small changes go a long way. Swap out the default fonts for your brand’s typography and update the color scheme to match your palette. For more inspiration on layouts and downloadable options, take a look at our collection of customizable receipt templates. With just a few minutes of work, you can turn a stock design into a professional receipt that reinforces your brand with every sale.
Building A Custom Receipt Template From Scratch
While pre-made templates are a great time-saver, there are times when you need a receipt that’s truly your own. Building a template from scratch in Word gives you absolute control over every detail, ensuring your branding stays consistent from the first quote to the final proof of payment. This is your chance to stop fighting with locked-down template elements and awkward layouts and build something that works exactly the way you do.
Here's a pro tip: the secret to a stable, professional-looking custom receipt isn't just dragging text boxes around a blank page. The best way to do it is by building your structure inside a table. Tables create a solid, invisible grid that keeps everything - your logo, business details, line items, and totals - perfectly aligned and prevents them from jumping around when you make an edit.
The move toward organized, digital documents is huge. In fact, approximately 73% of small businesses in North America and Europe now use some form of receipt template or management system. That's a massive jump from just 42% back in 2018. It really shows how businesses are relying on tools like Word for their day-to-day operations. You can find more stats and templates over at WordLayouts.com.
This visual guide gives you a quick look at how to find and use templates within Word itself.
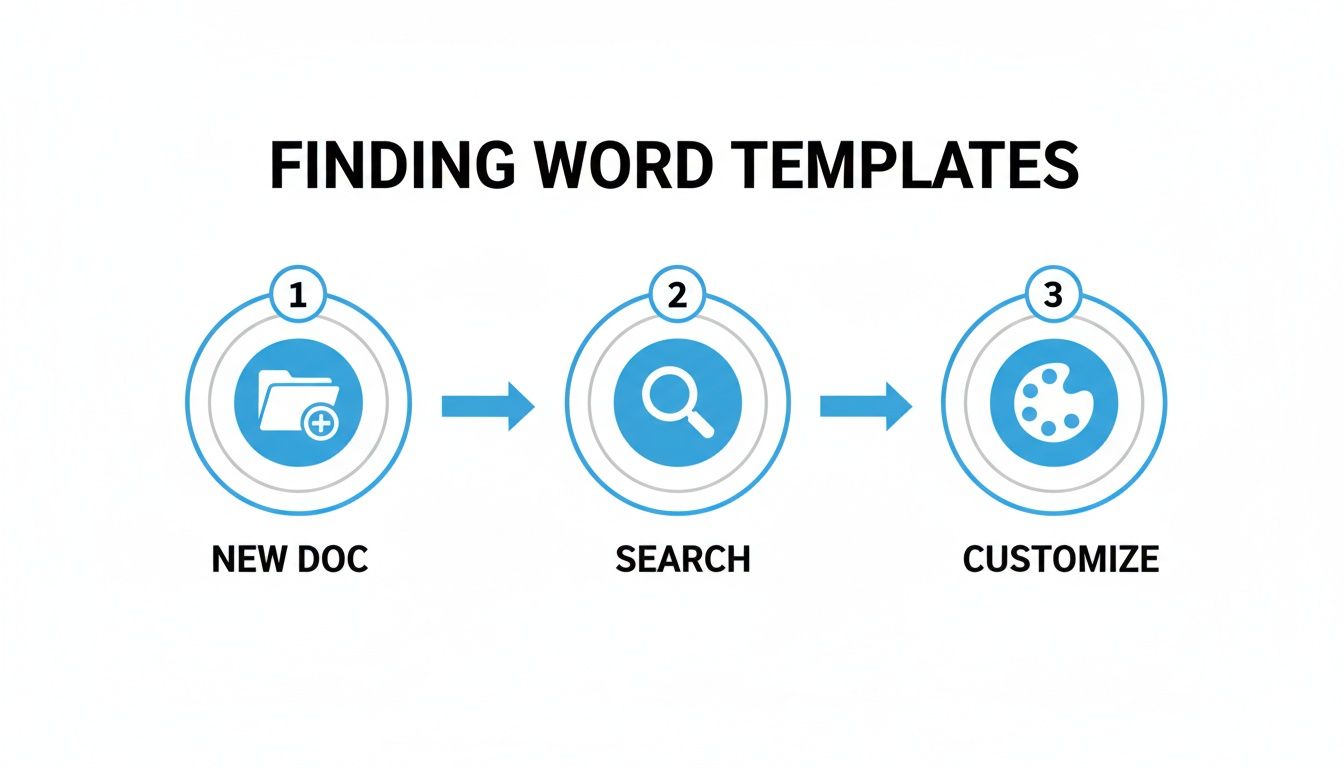
As you can see, the process is pretty straightforward, designed to get you from a blank document to a customized receipt quickly.
Crafting The Basic Structure
First things first, let's build the skeleton of your receipt. I always start by inserting a main table - a simple two-column one works best. The left column is perfect for your logo and business info, while the right can hold the receipt number, date, and customer details. This immediately gives your header a clean, balanced feel.
Now for the part that really matters: the line items. You'll need another table for this, but this one will have more columns. I suggest "Item/Service Description," "Quantity," "Unit Price," and "Total." This layout is essential for clarity and makes it much harder to make math mistakes. Using a table here means that every new item you add will line up perfectly, keeping the whole document tidy and professional.
My best advice? Once your layout is set, make the table borders invisible. Just select the table, head to the "Table Design" tab, and click "No Border." You'll get the clean look of a custom-designed document but with all the structural stability of the grid working for you behind the scenes.
Adding Your Professional Polish
With the structure locked in, it’s time to add your branding. Pop your company logo into the header cell you set aside earlier. Make sure you resize it so it’s visible but doesn't overwhelm the whole page. Then, you can either use text boxes or just type your business name, address, and contact info directly into the cells.
To keep everything looking uniform every single time, I highly recommend using Word's "Styles" feature. You can create custom styles for your headers, the main text, and even the line items. For instance, you could set a "Receipt Header" style to your brand's font and a specific size. This little bit of setup saves a ton of time down the road and keeps your brand looking sharp.
Of course, if you'd rather skip the manual formatting entirely, you could always use a generic business receipt generator that takes care of the design work for you.
The Essential Information Every Receipt Needs
It’s easy to get caught up in making a receipt look good, but if it's missing the right information, it’s not much more than a pretty piece of paper. A proper receipt is a critical business document. It’s your proof of sale, a key piece of the puzzle for your bookkeeping, and your first line of defense if a dispute ever comes up.
Think of it this way: a well-made receipt leaves zero room for doubt. It clearly answers the who, what, when, and how much of every transaction. This isn't just a "nice-to-have" - it's a standard business practice that protects everyone involved.
Your Business And Customer Details
Right at the top, your receipt needs to state clearly who was involved in the transaction. This is non-negotiable for looking professional and keeping clean records.
Make sure your business's official name, address, phone number, and email are all there. It's also a good idea to have a spot for your customer's name and contact info, which is especially important for big-ticket items or any kind of service work.
Here’s a quick rundown of what that top section needs:
- Your Business Name and Logo
- Your Business Address and Contact Info
- Customer's Name and Address
Getting these basics right helps you track sales and manage your customer relationships down the road.
The Transaction's Unique Identity
Every single receipt you create needs its own unique identity. This comes down to two simple but powerful pieces of information: a receipt number and the transaction date.
Think of a unique, sequential receipt number as your best friend come tax time. It prevents you from accidentally logging the same sale twice and makes finding a specific transaction a breeze. The date is just as important. It pinpoints exactly when the sale happened, which is crucial for financial reports, handling warranty claims, or managing returns.
A great receipt is more than just proof of payment - it’s a cornerstone of good bookkeeping. Getting the details right from the start saves you countless hours of stress and potential financial headaches later on.
Professional documentation has become more critical than ever. In fact, 91% of businesses now recognize receipts as essential for maintaining audit trails and managing customer disputes. The IRS even estimates that proper receipt documentation prevents about 18% of audit discrepancies that come from shoddy record-keeping. You can dig deeper into why templates are so vital for financial tracking with these insights from Smartsheet.
An Itemized Breakdown And Totals
Now for the main event: what was actually sold. The body of your receipt needs to break everything down clearly. An itemized list is the best way to do this. For every product or service, you should include a brief description, the quantity sold, the price for a single unit, and the total for that line.
After the itemized list, you need a clear breakdown of the final bill. This section should always include:
- Subtotal: The total cost before any taxes or discounts are applied.
- Taxes: List any sales tax separately so it’s easy to see.
- Grand Total: The final amount the customer actually paid.
- Payment Method: Make a note of how they paid - cash, credit, check, etc.
This level of detail provides complete transparency. It helps customers see exactly what they paid for and avoids any confusion over the final cost. A good receipt template for Microsoft Word will already have a logical structure for all of this, making your job much easier.
When It’s Time to Upgrade to a Dedicated Receipt Maker
Microsoft Word is an incredible workhorse, especially when you're just getting your business off the ground. Its familiarity makes it the go-to for so many early-stage entrepreneurs. But as your business grows, that trusty Word template can start to feel less like a tool and more like a roadblock.
What was once a quick, simple task slowly becomes a tedious administrative chore. You start noticing the little things. Manually punching in a new receipt number for every sale feels like a waste of time, and the risk of accidentally sending a duplicate number gets higher with every transaction. Or you find yourself wrestling with a table that misbehaves every time you add a new line item, forcing you to spend 10 minutes fixing a document that should have taken 30 seconds.
The Tell-Tale Signs You’ve Outgrown Word
Knowing when to move on from your receipt templates for Microsoft Word is a crucial part of scaling your business smoothly. This isn’t about abandoning a bad system; it's about embracing a smarter one that can actually keep up with your success.
Watch out for these classic growing pains:
- You're Drowning in Manual Math: You spend far too much time with a calculator app open, double-checking subtotals, tax calculations, and final totals. Every manual calculation is a chance for human error, which can become a real financial headache.
- Your Record-Keeping is a Disaster: Need to find a receipt from three months ago? Good luck digging through a folder packed with dozens of vaguely named Word files. Tax time becomes a nightmare of piecing together scattered documents.
- Your Brand Looks Inconsistent: Without a single source of truth, you or your team members might start using slightly different versions of the template. This small inconsistency can make your brand look unprofessional.
The moment you realize you're spending more time fighting with document formatting than serving your customers is your signal. Your admin tasks should empower your business, not hold it back.
This is exactly where a dedicated receipt maker comes into the picture. These tools are built from the ground up to eliminate all that friction. A solution like ReceiptGen, for instance, is designed to automate these challenges, letting you create professional, accurate receipts in a fraction of the time.
Just look at the difference a purpose-built tool makes. The interface is designed for one thing: getting the job done fast.
This kind of clean layout gets straight to the point, bypassing all the formatting hurdles you’d face in a general word processor.
How a Specialized Tool Fixes the Problem
Moving to a dedicated receipt maker is about more than just convenience - it’s about reclaiming your time and professionalizing your entire operation. These platforms are engineered to do one job and do it perfectly. They come packed with features that a multi-purpose tool like Word just wasn't built for.
Think about it: a system where receipt numbers automatically increment, sales tax is calculated instantly, and you can find any past receipt with a simple search. That’s the baseline for a good receipt generator. They offer professionally designed templates, one-click PDF exports, and a central dashboard to see all your transactions at a glance. This shift frees you from the mundane, repetitive work and lets you focus on what really drives your business forward.
Your Questions on Word Receipts Answered
Even with a great template, you're going to hit a few snags working in Microsoft Word. Let's be honest, it’s a fantastic word processor, but it wasn't built from the ground up to be a financial tool. I've been there. So, let's walk through some of the most common questions and sticking points that come up when people are trying to create receipt templates for Microsoft Word.
How Do I Save My Custom Design as a Reusable Template?
This is probably the single most important thing you can do to save yourself time down the road. Once you've put in the work to get your receipt looking just right - your logo is placed, the columns are perfect, the branding is on point - you need to save it as a proper template. Not just another document.
Here’s the trick: go to 'File' > 'Save As'. In the dialog box that pops up, look for the 'Save as type' dropdown menu. Instead of the usual .docx, you’ll want to select 'Word Template (.dotx)'.
Word usually defaults to a 'Custom Office Templates' folder, which is exactly where you want it. Give your file a clear name like "Business Receipt Template" and hit save. Now, whenever you go to 'File' > 'New', you'll see a 'Personal' tab, and your beautiful custom receipt will be waiting for you there.
Can I Make Receipt Numbers Update Automatically in Word?
This is a question I get all the time, and I wish I had a better answer. Unfortunately, Word just doesn't have a built-in function to automatically increase a receipt number every time you create a new one from a template. It's a manual process, meaning you have to remember the last number you used and update it yourself for every single transaction.
Honestly, if you want true automation and want to completely eliminate the risk of sending duplicate receipt numbers (which can be a real headache), you’re better off with a dedicated receipt maker. Those tools are designed specifically to handle sequential numbering without you having to think about it.
What's the Best Way to Send a Word Receipt to a Client?
Always, always send it as a PDF. Sending a raw .docx file can come across as unprofessional, and worse, it can get completely messed up by whatever device or software your client uses to open it. It also leaves the document open to being edited, accidentally or otherwise.
Once you’ve filled in all the details for a specific sale, don't just save it. Go to 'File' > 'Export' and click the 'Create PDF/XPS Document' button. This locks everything in place, creating a clean, professional, and universally readable file that looks sharp on any computer or phone. This is the gold standard for sending financial documents.
How Do I Stop My Table from Breaking When I Add Items?
Ah, the classic Word table frustration! You add just one more line item, and your whole table jumps to the next page, leaving a giant, awkward white space. It's infuriating, but thankfully, it's an easy fix. It's all about a default setting that doesn't play nice.
To fix it, just right-click anywhere inside your table and choose 'Table Properties'. Head over to the 'Row' tab. First, make sure the 'Specify height' box is unchecked. The most important part, though, is to make sure the option 'Allow row to break across pages' is checked. This simple tweak tells Word to let individual rows flow onto the next page instead of forcing the entire table to jump. Problem solved.
If you're tired of manual numbering and fighting with table properties, ReceiptGen can help. Create professional, fully customizable receipts in seconds without any of the formatting headaches. Get started for free at https://receiptgen.com.